Sew a Small Wallet Tutorial
by Karla Fidoe (owner and maker of Pop of Color Bags)

Can you cut a rectangle? Sew a pillow? Sew a straight line? Then this scrap busting small wallet tutorial is for you! This project is perfect for a beginner who is ready to branch out into something that looks complicated, but is no harder than sewing shut a rectangle (don't worry, we'll let everyone who sees your wallet keep thinking how complicated it looks!)
**Apparently I am a better maker than a blogger because I can't figure out how to get the numbers on the side to go away. Please ignore the random floating numbers! Smh! 😖
Materials:
- Choose your fabrics - pick one fabric for the exterior/base (I like to use an outdoor fabric as it is more durable for the outside). This one needs to be cut into 2 rectangles measuring 5 by 9 1/2 inches.

- Choose a coordinating fabric for a pocket. This one will measure 5 by 9 inches.
- Choose another coordinating fabric for a second pocket. This one will measure 5 by 8 inches.
- Choose your last fabric for the inside of the zipper pocket - this one will measure 5 by 9 1/2 inches.
- 8 inch zipper
- Kam Snap
- Coordinating Thread
- 4 by 8 1/2 inch interface (I use Pellon Craft Fuse fusible interfacing)

Steps:
 |
| Step 1. Prepare base fabric by cutting your rectangle into two. Measure 4 1/2 inches up from the bottom and cut. This is where the zipper will be sewn. |

Step 2. Prepare your pockets by folding wrong sides together, ironing a crease, and top stitching a line across the top of both pockets. 
Step 3. Prepare your exterior fabric by ironing on the interfacing. 
Step 4. Sew the bottom of the base fabric to the zipper. (I don't use a zipper foot, instead, I position the needle as far left as it will go and leave the zipper zipped so the pull is out of the way). Place your zipper face down on the right side of the base fabric. Line up the pocket fabric facing down on the top of your zipper. Sew a straight line with your foot almost touching the zipper teeth - using your guiding hand to feel the raised line of the teeth to help you stay near them.


 |
| Step 5. Iron your seams and top stitch. Don't forget to switch your needle position back to center! |
 |
| Step 6. Sew the top of the zipper by repeating step 4. (Make sure your base fabric edges are lined up on each side, and the direction of the fabric is correct). |
 |
| Step 7. Repeat step 5 to top stitch for the top of the zipper. |
 |
| Step 8. Congratulations! You made it past the zipper, and now it is smooth sailing! Simply pin your 2 pockets in place underneath the zipper. |
 |
| Step 9 & 10. Open your zipper 3/4 of the way.Place your exterior fabric face down on the base fabric. Right sides will be together. Start on the left side, near the top corner, and sew around the outer edge. Stop sewing just past the zipper on the left side - this leaves enough room for you to turn your wallet right side out. Because all of your pockets, including the interior zip pocket, measure the same width as the exterior, you will automatically sew all of these seams. |

Last Steps:
11. Once you have turned your wallet right side out, top stitch the entire perimeter of the rectangle. When you get to your opening, simply use your fingers to tuck the edges inside and top stitch to close the opening. You can also add a ribbon tag with a key ring before you close the opening.

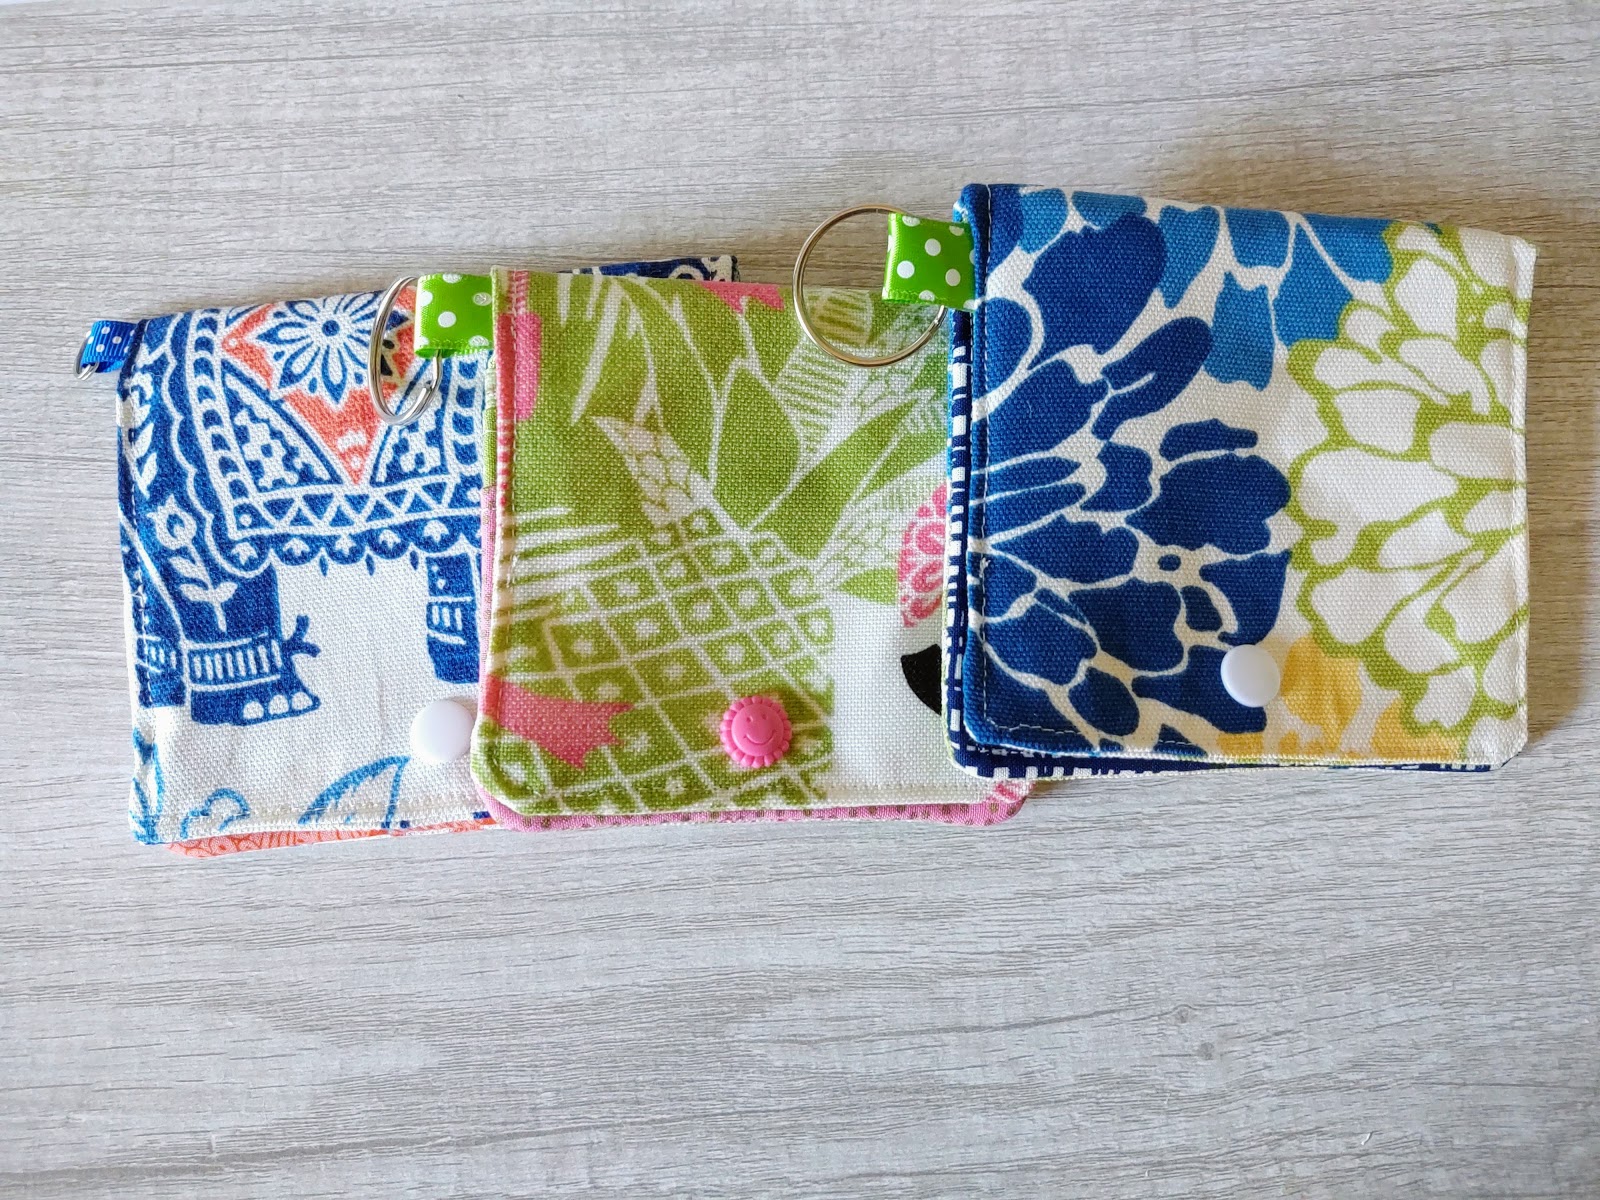
12. Add your snaps and you are finished! Now it's time to take your wallet shopping so you can enjoy the ensuing compliments on your new sewing project!
Don't want to make your own? Check out a few I've made at my #etsyshop!
No comments:
Post a Comment