Showing posts with label #sewwristletclutch. Show all posts

Saturday, August 24, 2019

Sew a zipper without using a zipper foot

Sew a Zipper without Using a Zipper Foot

by Karla Fidoe (owner and maker of Pop of Color Bags)


Sewing a zipper is one of those tasks that seems incredibly hard, and like it would take a high level of skill. In reality, if you can sew a straight seam, you can sew a zipper!

Step One
Cut two rectangles measuring 1.5 inches wide by 3 inches tall. These will become the end zipper tabs to ensure you have perfect corners.

Step Two
Fold each end of the rectangle down, fabric is right side down, and iron.

Step Three
Fold your rectangles one more time, in half. Iron. You are now ready to sew the tabs to the end of the zipper.

Step Four
Instead of switching to a zipper foot, use your regular sewing foot. (I find it gives me more control, and has a better guide for me to use for sewing a straight line.) Change your needle position to 0 (this position should be closest to the left inside edge of your sewing foot).
Sew each tab to the each end of the zipper.


Step Five
Lay your zipper face down on the top edge of your exterior fabric with the right side facing the zipper teeth and the zipper pull farthest from the side you plan to start sewing. Center it. (You can pin, but I find it just as easy to hold with my fingers and adjust as necessary.)


Step Six
Line up your interior fabric, right side down, on top of the zipper and exterior fabric. You know have a zipper sandwich.

Step Seven
With needle still in the 0 position, sew a straight line across the top of your zipper sandwich. I find it helpful to use my left hand to keep track of the bump caused by the zipper teeth so my fabric doesn't shift during sewing. Stop when you near the zipper pull.

Step Eight
Lift your sewing foot, reach between your fabric sandwich, and unzip the zipper far enough so the zipper pull won't be in your way. Put your foot back down and continue sewing until you reach the end.

Step Nine
Open the fabrics you have just sewn so that the fabrics are wrong sides together. Iron your new seam.

Step 10
Top stitch by moving your needle position to 1 (or back to the middle of the foot). I like to use the top fold as my guide to ensure I sew a straight line. Top stitching is an important step (and an easy one to forget!) to make sure the fabric never gets caught in your zipper teeth.

Congratulations! You have completed one side of your zipper. Repeat steps four through ten to complete your first zipper.

If you have any questions, please feel free to leave them in the comment section. If you'd like to see more of my sewing tips, follow me on Pinterest or check out my Etsy shop, Pop of Color Bags.
Happy Sewing!
Karla

Sunday, August 18, 2019

How to Create Your Own Patterns for Sewing Purses

How to Create Your Own Patterns for Sewing Bags

by Karla Fidoe (owner and maker of Pop of Color Bags)

Every woman has done it. Found a perfect purse in a department store, splurged on it, and after a few days of carrying it, you find yourself on the hunt for a new purse. The reason? You love the look of the bag, but it has too many pockets, not enough pockets, the zipper is hard to reach, etc. Each person has a specific idea of the perfect purse, and the only way to get it is to make it or have it custom made.
I have an obsession with accessories. Every time I shop, I wind up in the handbag department. My love of bags and purses meant that I was always on the hunt for that mythical purse that solved all of my problems. I want to be organized, but I hate having a million pockets because I can't remember which pocket has my lip balm. I like a bag with structure, but don't want it to weigh a million pounds. My favorite bags have spunky linings - fabric that is unexpected by just looking at the outside.
I realized, I could have the perfect bag...if I made it. Since I can sew, I stopped looking in department stores and started haunting the fabric stores for my perfect purse.

1. Identify a problem you would like to solve.

I am currently in love with the look of layering textures with an eye on fall fashion. I layer a lot of different patterns, and even some different textured fabrics with my purses, but none of them scream, "Autumn!" My problem is that I want that chunky layer look. I want a purse that can transition from fall to winter, have a boho eclectic style, and be something that is different.

2. Choose a geometric shape for the exterior.

Okay, I lied a little when I said create your own pattern. When I think of a pattern, I think of the flimsy trace paper. That's not what I mean by pattern - I pattern by using a geometric shape I can recreate just by measuring. This means no pattern weights, tracing, or trying to refold those huge sheets of weird shapes!
My favorite type of purse is a wristlet. I'm going to use the rectangular shape to build an autumn, boho eclectic purse. I would like it to be 12" wide and 6.5" tall so I'll cut my rectangles 13" x 7".

3. Choose your fabrics.

I want a layered fall look, so I decide to cut up a scarf I crocheted. (I'm not totally sure this will work, but that is what step 6 is for!)
To layer, I have 27" of embroidered jacquard ribbon that I've been dying to use. Sewing the trim directly onto the crocheted yarn seems like it will give it a lumpy look, so I'm choosing an oilcloth fabric as a top layer. (This also allows me to attach a zipper without worrying about sewing it to the crochet piece). 
And my final exterior selection is meant to add a flair of Boho - I'm adding a tassel trim to the bottom of the oilcloth to help transition from fabric to the crochet piece.
For the interior, I'm using outdoor fabric because it will hold its shape, which will be important for the crochet scarf piece.

4. Decide steps to sew.

Adding decorative trim is easier when there is less bulk, so I decide to start with attaching the tassels to the oilcloth. Next, I sew on the jacquard ribbon trim.
Because the scarf has fraying ends, I want to add it last so it's not handled as much. So I take the oilcloth with added trim, and the interior fabric, and sew the zipper. I also will use a leftover piece of the jacquard ribbon as my d-ring attachment for a wrist strap.
I then attach the crochet piece to the oilcloth, and can finish the bag by sewing all of the edges as normal.

5. Sew!

I make a note in my sketch book that the next time I try this, I would like to top stitch the crochet pieces to a piece of sturdy fabric to give it more shape. I would also crochet rectangles so I wouldn't have to worry about unfinished edges or unraveling. Otherwise, I would make it the same way.

6. Test.

Because I make purses for my Etsy shop, Pop of Color Bags, I always make a bag for myself to test for a few weeks before I reproduce the design for my shop. In this way, I can find the flaws, or refine the function of the bag.

Have an idea for your perfect purse, but not sure how to proceed? Leave a comment or question and I'll be glad to lend my sewing expertise to help you design your perfect purse. Or, feel free to visit my Etsy shop and I'll happily custom make your perfect bag!

Sunday, August 4, 2019

Ridiculously Easy Way to Sew a Straight Seam EVERY time!

Ridiculously Easy Way to Sew a Straight Seam EVERY time!

by Karla Fidoe (owner and maker of Pop of Color Bags)

You're going to think, well, duh, after reading these 3 ridiculously easy tips to sew a straight seam every time. But, I've seen enough sewing hacks on Pinterest Pins to know that not everyone understands the KISS principle. (Don't believe me? Look it up - you'll find a magnetic guide sewing foot, washi tape, and rubber-band suggestions.)

1. Cut straight lines

I'll be honest. It took me awhile to invest in a cutting mat and rotary cutter. "I had sharp scissors and am good at reading a ruler. I don't need all the fancy extras!" was my thinking. Boy, was I wrong!
Everything I made was a slightly different size, and was slightly angled. Cutting with scissors, even if you measure and mark a few spots along your cutting line, will never be as precise as using a rotary cutter. Do yourself a favor and spend a few dollars to get a rotary cutter, mat, and long ruler!

2. Iron straight folds

Once again, this seems like a no brainer, but we've all made that mistake. Ironing a crease for a zipper, hem, what have you, and it slopes a little. You figure you'll go ahead and sew, and if you sew a straight line, no one will ever know you ironed a little crooked. And what happens? Your seam is straight, but slopes! A hot hemmer is a great tool to help you iron straight folds. You can find it at fabric stores or on Amazon.

3. Use your foot as the guide

Always use the same spot on the foot, and change needle position for increased seam allowances.
Being consistent with where I place my foot
as my guide,I can get the same seam allowance
as well as get a straight seam, every time!
I always use the edge of the clear plastic/
inside edge of metal foot as my guide. 


Sunday, July 21, 2019

Tips for Buying Fabric for Sewing Bags and Purses

Tips for Buying Fabric for Sewing Bags and Purses

by Karla Fidoe (owner and maker of Pop of Color Bags)
Choosing the right fabrics helps your bag look luxurious instead
of looking like a school craft project.

Take me to a fabric store and I'm like Augustus Gloop in Willy Wonka's Chocolate Factory. I want everything! Sewing bags and purses that don't look homemade requires special considerations when choosing your fabrics. (It turns out I had so many tips, I decided to concentrate on the exterior purse fabric only in this blog).

1. Price per yard

I know, this is kind of cheating for a list about choosing a specialty fabric, but I do consider the price per yard when I am purchasing fabric. If I'm making a tote bag, it takes 1/2 yard for the outside of the bag. That means I can only make 2 totes out of one yard. I'm unwilling to pay more than $11 for a yard that can only make 2 bags. However, that specialty fabric that is $20 a yard for making wristlets? I can make 6 wristlets with that yard, so $20 isn't too bad of a deal. My general rule of thumb is to never pay more than $5.50 for the exterior fabric.

2. Weight of fabric

Upholstery fabric - notice how wristlet
stands on it's own with minimum sag.
The best thing about going to a fabric store is being able to touch all of the things! To me, weight is the feel of the fabric in your hand, not that the fabric is actually heavy. Depending on the type of bag you are sewing, you want your exterior fabric choice to give your bag structure and balance. A cotton print for quilting would never stand on it's own. It would wrinkle, sag, and show wear on the handles very quickly.
Upholstery fabric, utility fabrics (like cork fabric), vinyls (faux leather), oilcloths, outdoor fabric, and some home decor canvas fabrics are great choices for the outside of your bag.
While you want your exterior fabric to have weight, you don't want it to actually weigh a ton. Pick up the bolt you're considering, unroll it a few times, open it up, and take time to imagine what it would feel like when making a tote or wristlet. (This may seem silly, but I've made a tote bag that clocked in at 4 pounds before I added my wallet and items I carry in it).
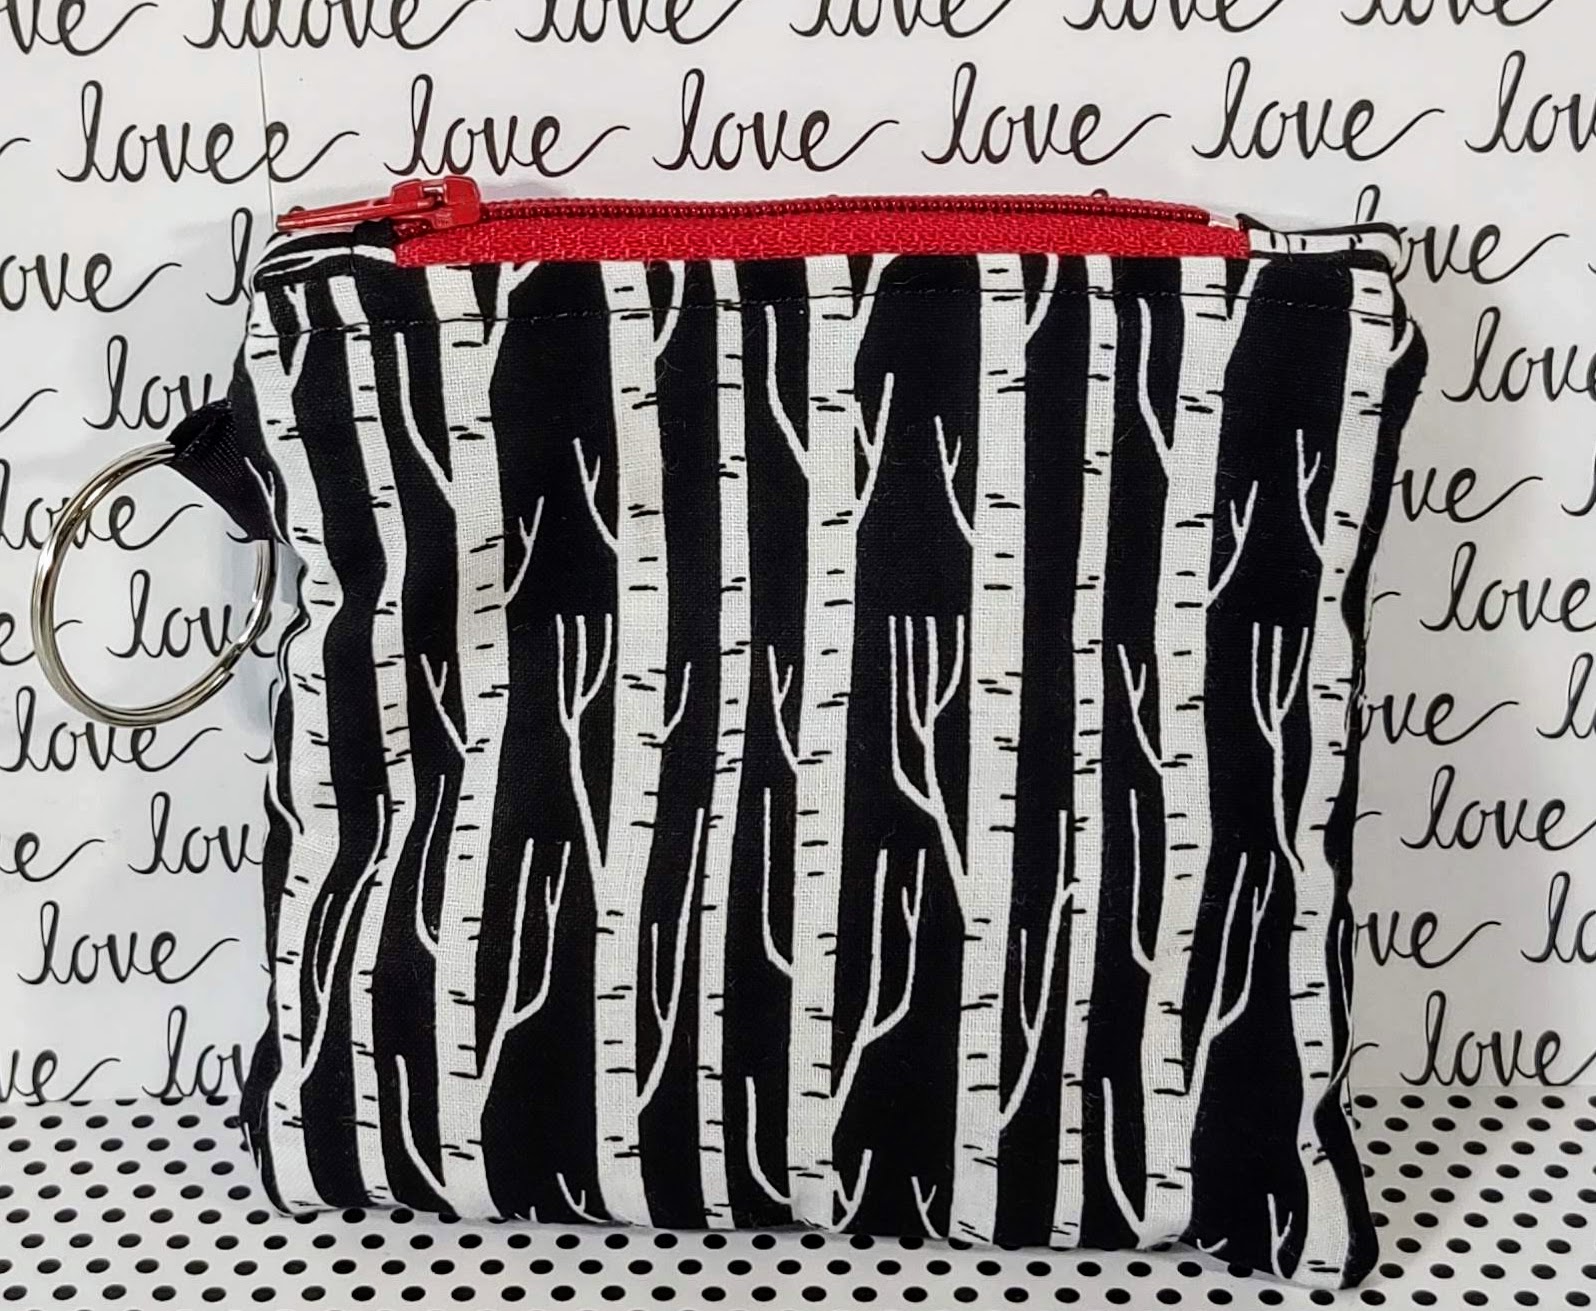
This is one of my early coin purses.
I used a cotton calico print. Notice how
the key ring sags because the fabric does
not have the weight to hold it's shape?
Unrolling the bolt and opening up the fabric also lets you consider if the fabric is stiff enough to add structure. Some home decor canvases are almost like quilting cotton and are not good for exteriors of bags. *I do want to note that you can stiffen any fabric by using interfacing, but at $3.99 a yard for Pellon Craft Fuse, this gets expensive really fast. It's easier to just pick a fabric that won't need stiffening.
*A crossbody or hobo bag may not need much structure, so you can use a wider range of fabrics for these purses.

3. Feel of Fabric

A purse is meant to be carried - either by your hands or slung over a shoulder. You don't want
This upholstery fabric has velvet in the navy blue outlines
of the leaves. The cream fabric feels like really plush
carpet without the thick pile. Joann's Fabric $9 a yard.
something scratchy, you want something that feels luxurious. When you carry it, you want to feel like a million bucks, so choose a fabric you can pet. I love a buttery soft faux leather or micro suede bag. Natural Cork fabric is very smooth, as well. You can always layer a printed fabric on top of the exterior if you want more visual appeal.

4. Ability to Iron

This tip is not a deal breaker for me. It just means I'm more careful with how I use the fabric. If I'm using a faux leather vinyl for a tote bag exterior, I tend to not use the same material for the handles knowing that you can't pin leather, you can't iron it, and it's super hard to sew right sides together in a tube and try to turn the tube right side out. Think about the type of bag you are making, and the different steps. If you need to iron the fabric to help you sew straight, top stitch a zipper, or add embellishments, choose something else.
*And yes, I know I could use Wonder clips to pin my vinyl, but I need the iron to show me a straight line. If I fold and clip a strap, I end up with one end of the strap WAY wider than the other. I swear my eyesight is crooked!

5. Ease of Sewing

I love haunting the clearance section at Joann Fabrics for their upholstery and faux leather fabrics. Most are marked either $9 or $12 a yard, and you can use coupons on these cuts as well. Through trial and error, I've learned that some faux leather fabrics glide right under your machine foot, and others require me to use tissue paper between the foot and leather. Pulling tissue paper out of every stitch is NOT my idea of a good time!
Use tissue paper to top stitch faux leather that won't glide
under your machine foot. 

I like to tear off the tissue paper underneath my seam first. I
then cross my fingers and hope that pulling off the tissue
paper on top of the seam comes completely out without leaving
little bits behind. Any little bits stuck between stitches, I simply
use tweezers to pull out.
So, feel the fabric. If it is smooth and has that buttery texture, you are good to go. If you glide your hand across and it feels a little gummy, you'll need the tissue paper trick to sew any top stitching.

Thoughts? Leave them in the comment section! Interested in my finished pieces? Check them out at my #etsyshop Pop of Color Bags.

https://www.quikly.com/joannstores/s/mGXnzxgK

Tuesday, July 16, 2019

7 Reasons to Start Sewing Bags and Purses

7 Reasons to Start Sewing Bags and Purses

by Karla Fidoe (owner and maker of Pop of Color Bags)

7. Time

30 minutes of sewing and I have a
Bow Hand Strap Clutch!
I don't know about you, but sewing a dress is a whole day project for me. (Usually, it's more than that because I procrastinate a few days about hemming the dress because it's my least favorite thing to do!) Sewing a bag takes me an hour - complete with cutting the fabric, ironing between steps, and any finishing touches.

6. Cost

I have this idea in my head that people sew because it is cheaper than buying store made items. I'm not sure where I got this idea, because as a sewist, I know how expensive fabric can be! Even with coupons and sales, jersey knit fabrics cost $15 or more. It also takes more than one yard to make many clothing items.
This price doesn't include using a coupon along with the sale price. This is from Joann's Fabric.
Many of the fabrics used for making bags is less than $10, and two yards can yield up to 8 bags! 

5. Mastery of Skills

Sewing jersey knits, or any fabric with stretch, takes a special talent (and a lot of patience!). Reading and following patterns, darts, hemming, necklines, armholes, etc. are all techniques commonly used when sewing apparel.
Straight seam along zipper and top of hand strap.
Using a color matching thread really camouflages
any small imperfections 😄
What skills do you need for sewing a bag? You need to be able to change your sewing machine needle, cut out a rectangle, and sew a straight line. That's it. Of course, as you progress, you add skills like sewing a zipper, using interfacing, sewing curves, and adding trim, but in reality, sewing a straight line is the biggest skill you need.

4. Elegance 

Me during Derby week at
Churchill Downs
I came across this article on Pinterest, "How to Look Effortlessly Elegant All the Time." The section on Accessories resonated with me because I truly see my purse as my final accessory. If my handbag makes a statement, I look put together. It's the act of a final thought before I walk out the door that helps to make me feel elegant. If I feel elegant, then I project that confidence. (If you've read the article, I'm sure you are trying to imagine what accessory I could have possibly taken off for the Chanel theory that less is more! 😂)

3. Gifts to Give

I gave everyone tote bags 4 years ago for Christmas.
They were a big hit and are still in use today!
The first picture to pop into my mind when I think of a handmade gift is the sweaters Grandma used to knit and give as Christmas gifts. Sewing a purse is definitely not that! Instead, it encompasses a functional gift that is personalized for the receiver. If you have mastered sewing a straight line, then your handmade gift will look professionally done, and be appreciated for your craftsmanship. 

2. Versatility

Most bags have the same rectangular shape - a crossbody, wristlet, clutch, and tote bag to name a few.  Once you have mastered sewing a straight line and cutting out a rectangle, you can play with your purse designs.
Add a pocket in an unusual way - like my favorite wristlet clutches with a diagonal phone pockets. You can mix patterns and prints to create a one of a kind bag. You can add trim and change the style of a bag. The skies the limit when you start designing!
A great example is the Hand Strap Clutch.  It's a variation on a zipper pouch - just look at all the ways one change can make the bag feel like a different style.

1. Individuality

A bag or purse always fits is one of my life mottoes. A store bought tote or wristlet is almost always made in leather of one color. The lining is a satin version of the outside color. Boring! When you sew your own bag, you can choose to mix and match prints, find an outside faux leather and an inside lining in a cotton print, whatever your heart desires! I for one, love a
Pop of Color 😉


Have ideas to add to my list? Leave a comment!


Saturday, July 13, 2019

Tips for Creating High Fashion Homemade Bags and Purses

DIY High Fashion Homemade Bags and Purses

by Karla Fidoe (owner and maker of Pop of Color Bags)

This blog idea stems from the fact that I have a shopping compulsion when it comes to bags and purses. I love the feel, design, and functionality of a good purse, but hate the price tag. I have never been one to buy a bag because of the brand - and paying $200 for a purse I am going to carry once or twice a month depending on the occasion and outfit I'm wearing - seems a little frivolous. (Not to mention the husband wouldn't enjoy working an extra year before retiring to help finance my compulsion!) I mean, who has ever seen a specific brand someone is carrying and said, "I really like your purse because it is Coach!" No one!
So, I started designing and sewing my own creations. Here's a list of the rules I use to create a high fashion homemade bag.

Tip #1. Mix prints with textured fabric to create a luxurious feel.


A textured fabric gives an expensive feel. Think about your bed sheets. Those ones you had in college were super scratchy. As you have gotten older, you most likely buy your sheets by feeling for silkiness and thread count. The same concept goes for the outside fabric of your purse. If it feels high end, it will look expensive.

The top picture is a Modern Chevron print paired with a woven blue outdoor fabric. Neither fabrics were expensive, but the look of the thick woven strands is highlighted by the chevron print, making the weave more pronounced.

In the second picture, I used a faux leather as the base for this wristlet clutch. I chose this fabric because it is buttery smooth and pliant. It feels like a very expensive leather jacket, but is a fraction of the price (I paid $9 a yard plus 20% off my total purchase at Joann Fabric's for this faux leather.) Pairing the leather with the coral colors helps to bring out the rich brown, making the bag radiate luxury.


Tip #2. Choose a fabric with weight.

"Wait. I don't want my purse to be heavy - I have to lug it around!" I know that is what you are thinking, but there is a difference in weight and heavy when it comes to fabrics. In fact, this wristlet clutch weighs in at 3.7 ounces. However, the woven upholstery fabric is thicker and makes the bag feel like it has some heft without actually adding weight. When you hold a bag, like a clutch, in your hand, you don't want it to feel like paper. You want it to have a little weight so you know it is constructed with durability and fibers carefully woven into the fabric. (This upholstery fabric was $9 a yard with 30% off since it was in the clearance section at Joann's Fabric.)

Tip #3. Add an unexpected element.

 A bow hand strap clutch isn't something you see everyday. The uniqueness adds the designer feel, and exclusivity is a mark of high fashion. In addition to the bow hand strap, I used cork fabric. Cork fabric is one of the latest trends because it is eco-friendly, durable, and water proof. 

Paying attention to the small details is your chance to show off your creativity. A tote bag generally has a rectangular shape, boxed corners, and two straps. You can't change much about that, but you can add a leather loop and coconut button closure. This detail shows the time you took to execute even the smallest detail, making sure it is pretty and functional.


Tip #4. Pay attention to details from every angle.

The beauty of making your own purse is the fact you get to pick the fabric to match your mood/outfits/personal style. A purse needs to have interest from every angle to show the thought you put into creating it. One side of this Hand Strap Clutch is a tropical South American theme with the flower and parrot. The other side has palms, a tropical flower, and a riveted natural cork hand strap. No matter which way you are holding the purse, using the hand strap or wrist strap, there is a powerful image to view.

High fashion is about the power of an image. Taking time to examine your bag from every angle reflects the thought and craftsmanship of building a purse that is truly an accessory instead of just a necessity.


Tip #5. Show off your craftsmanship!


Those designer purses everyone craves come with a hefty price tag because of the quality of the materials and craftsmanship of the manufacturing. You can do the same on a budget! It's not the fact that I used a coupon and sale at Joann's fabric to pick up the natural cork fabric for $6.99 a yard. It's the fact that I sewed straight seams, have flat corners at the top, and double stitched every interior seam. This wristlet clutch is meant to last!

Taking time to line a toile with matching tassels highlights the print and shows off my sewing skills. When I get compliments on my handmade bag and I tell people I made it, I love to hear the exclamations as they take a closer look - people are always amazed it is possible to sew a bag that looks like you could buy it in a store.


Like any of the bags and purses you see? Check out these and my other designs at Pop of Color Bags!

Have more ideas to add to this blog? Please leave a comment 😁